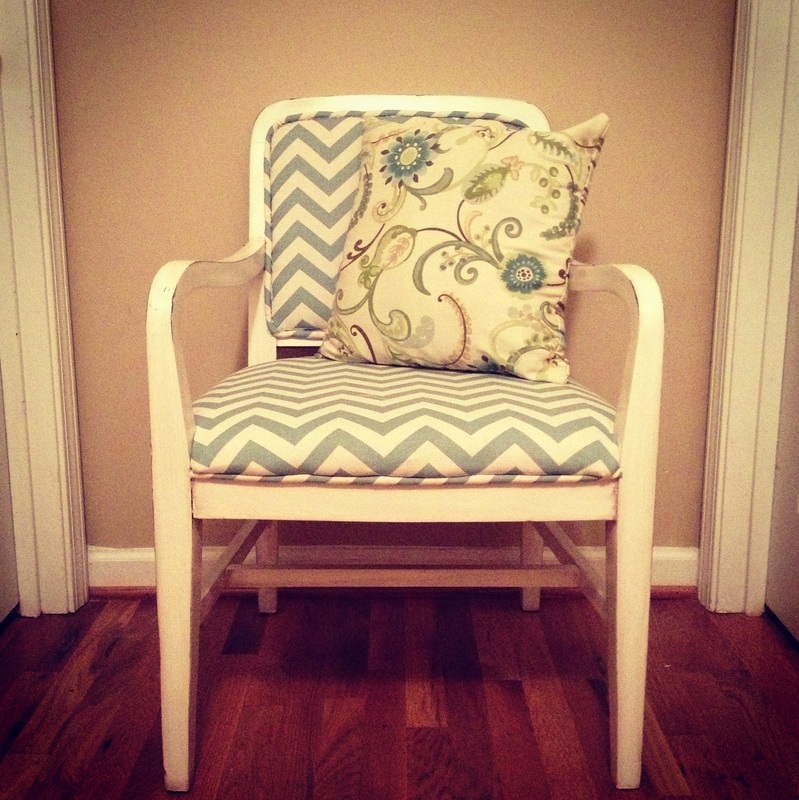
Have you ever been scrolling through craigslist or at your local thrift store and saw potential in some upholstered chairs, and thought those could be adorable! But...then remembered you've never re-upholstered anything and you know nothing about it, and that you could never pull that off (and you don't have the money to get them professionally done). Well of course I ignored all that and bought 2 not so pretty chairs...
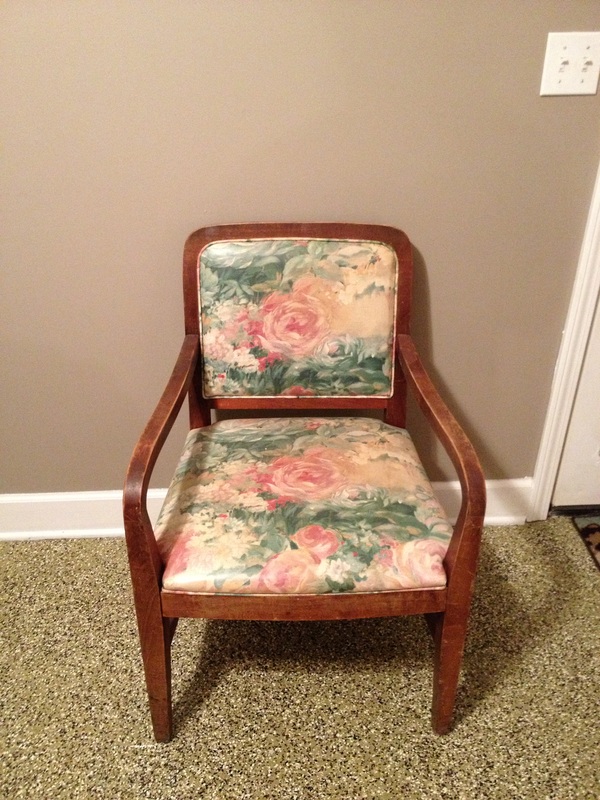
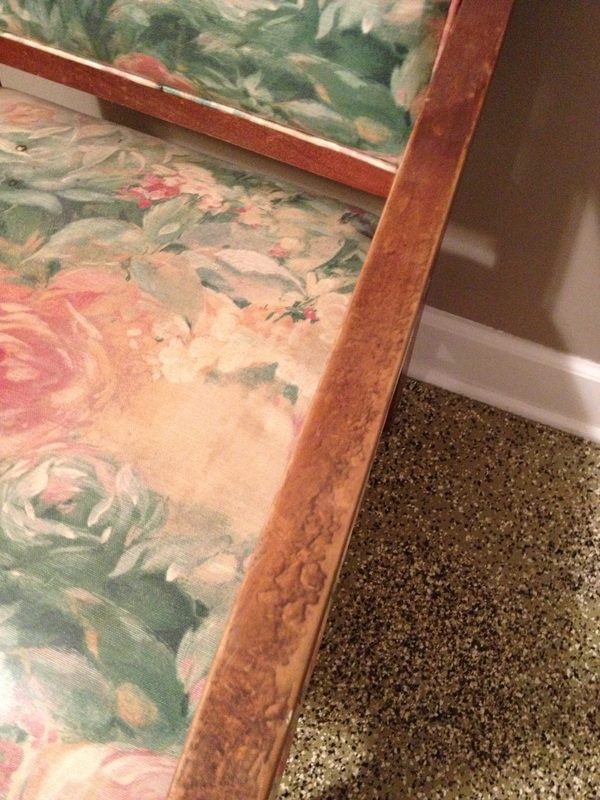
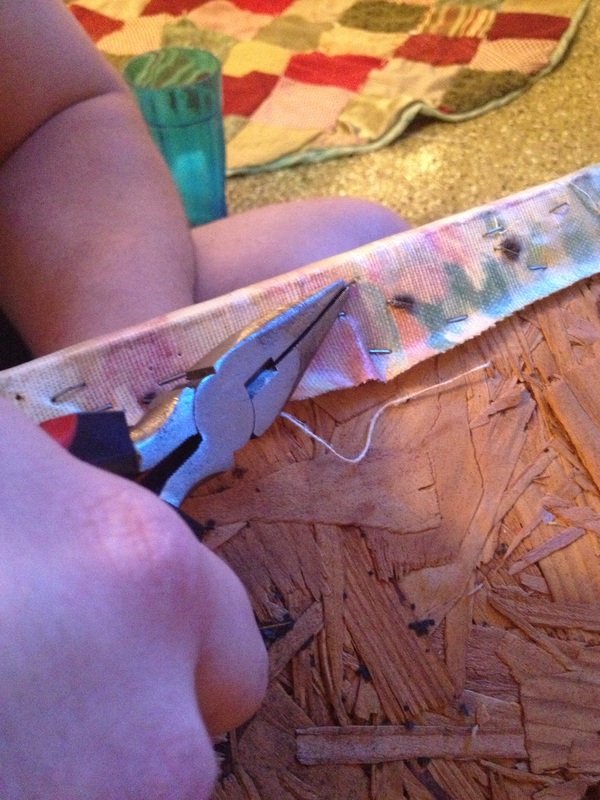
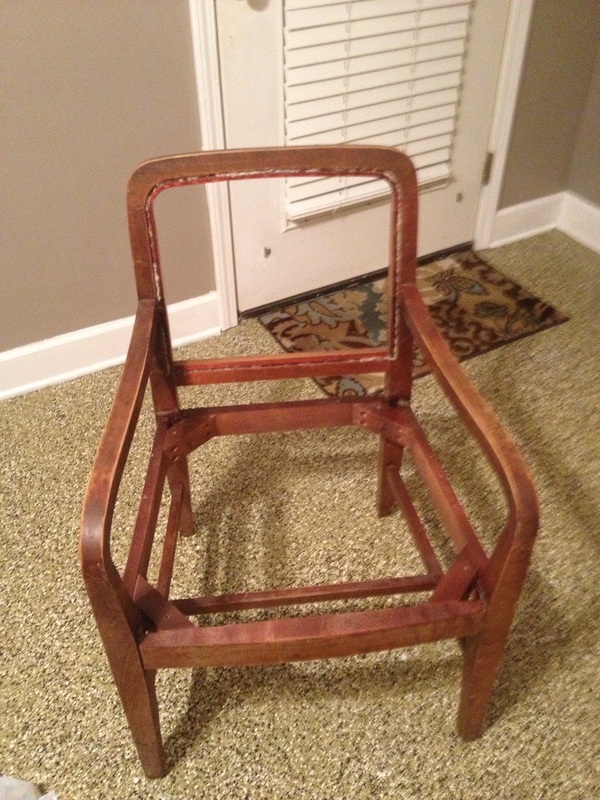
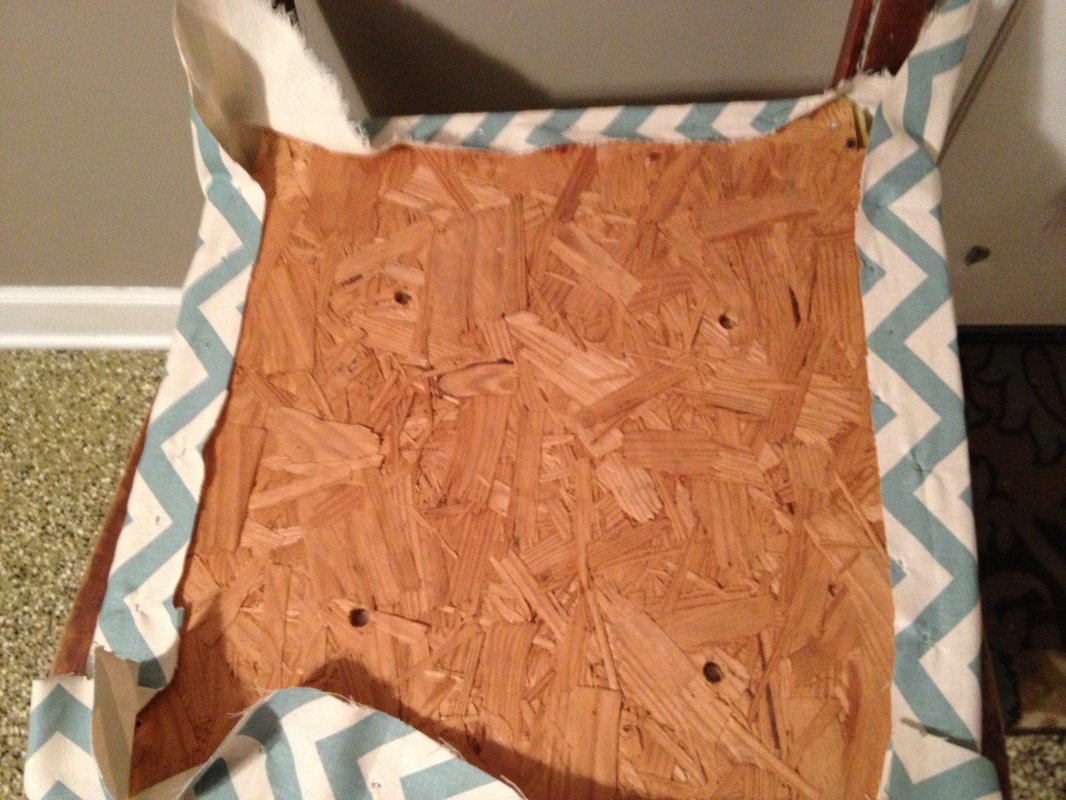
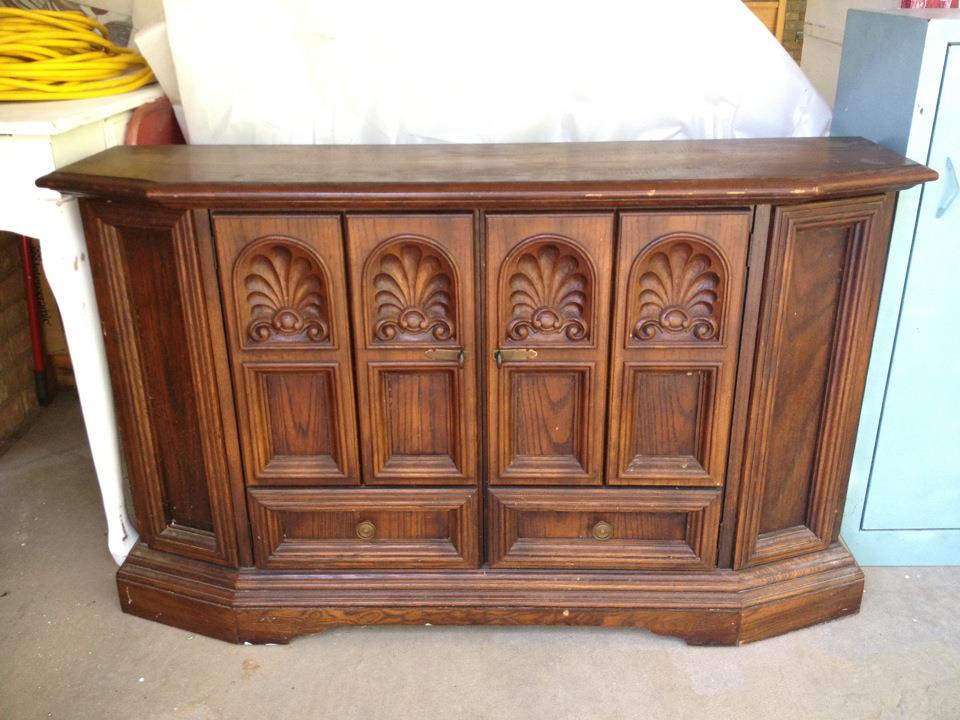
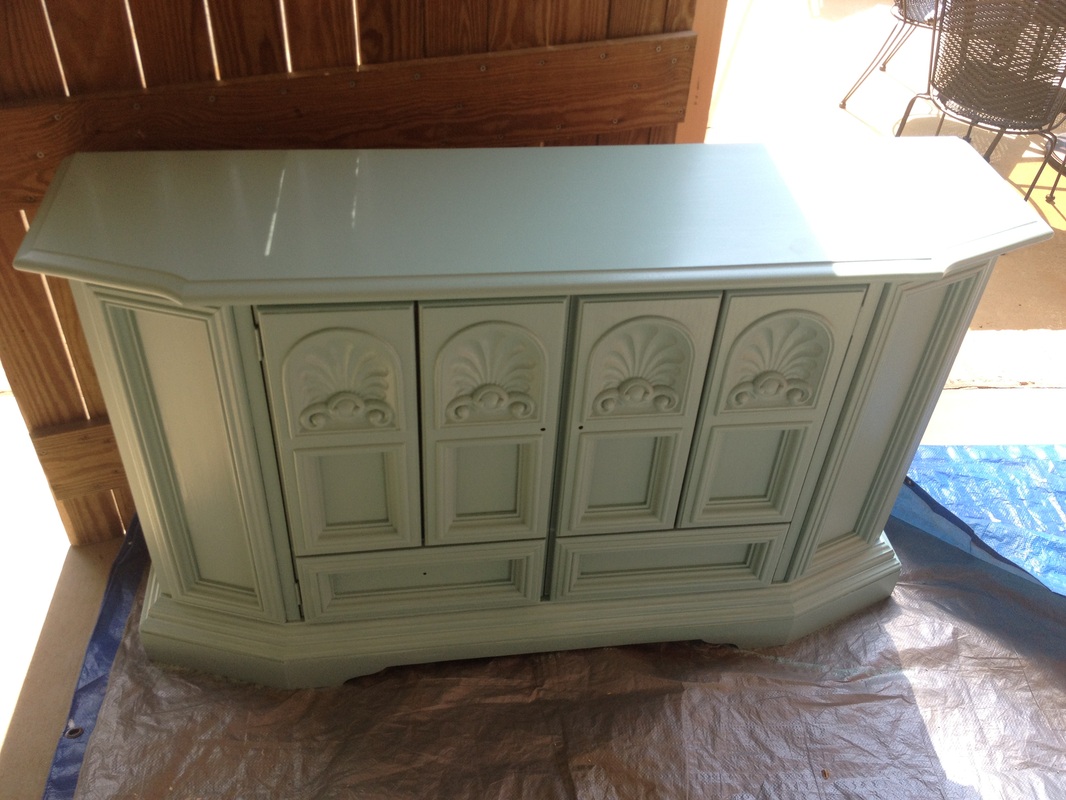
When it rains, it's hard to get a lot of painting done, because a lot of my painting takes place outside. So since it was raining on this paticular night, I thought this was a good of time as any to finally tackle these chairs. I started of by tearing off that horrible plastic floral fabric. I have to give some credit to Alex, my hubby. It takes a lot of elbow grease, and a lot of patience and he did a great job. We used pliers to get the staples out, but you can buy staple removers. I read that they work about the same. Be sure to save the fabric and foam/batting, that way you can cut out the patterns with out having to measure and all that fun stuff. Once you get done tearing everything out you should be left with the frame of the chair. This is when you decide if your going to stain it, paint it, or roll with whatever you've got. These chairs were pretty beat up so I decided to paint them. But that's for another blog post, for another time. All chairs are different, so you may have a few more steps, or not so many steps. It all depends on the chair.
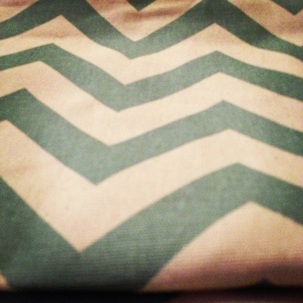
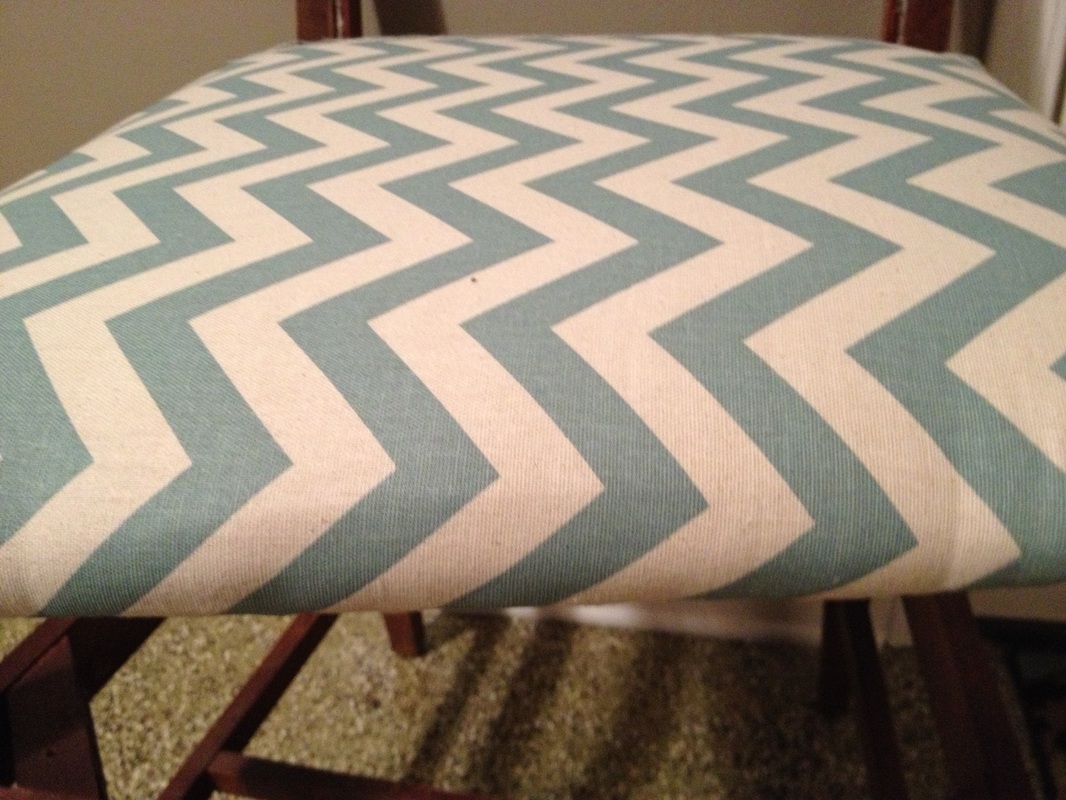
Now, after you have the frame painted, distressed, stained, or whatever you decided on, it's time to go buy some adorable new fabric. This is the fun part! I love shopping, so of course I had to look down every isle of fabric. Ladies, I suggest not taking your husband with you when you do this...he got a little antsy. Make sure you know how many yards you will need before you get there. Or, take the old fabric with you and judge by that. Most the time there's a nice lady there who knows more about it and can help you. I would go ahead and get at least an extra yard in case you make mistakes. So after I finally decided on a cute fun pattern, I got the lady to cut it, I bought around 5 yards for these two chairs. But, like I said, every chair is different. I had a lot let over, but it will come in handy if I ever need to recover the seat. Here's a picture of the fabric I chose. I love it!
The next step after you pick your fabric is to gather up all the tools/supplies you'll need. Here is everything I used. A sharp pair of scissors, a yard stick, a staple gun, staples, an air compressor (for the staple gun), pliers, piping/trim, a sewing machine (with a zipper foot), thread, hot glue gun, hot glue sticks, and if you can find some, an extra set of hands. Let's go over everything. I used my grandpa's staple gun that runs of an air compressor. I suggest borrowing one from a friend/relative if possible. If not, manual staple guns work too, but may be a little more work. The piping is what you will make trim out of. You will need the sewing machine to sew the matching fabric around the piping for the trim. You can buy pre-made trimming, but it looks more clean and professional if the fabric matches. You may need some help stretching and holding the fabric in place while you staple, that's where the extra set of hands come in. I will go more in detail about that at the end.
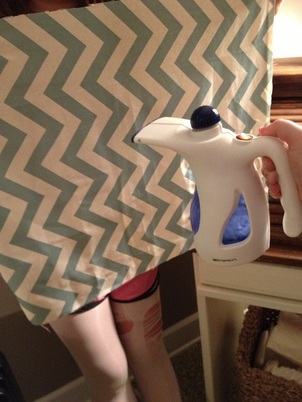
Once you have everything on hand you're ready to cut out your patterns. When you get them all cut out, you may need to steam them with a steamer, iron, or throw them in the dryer to get out any wrinkles left from being on the roll, in the store. This will also help keeping it smooth and tight when you're stapling it.
Looks like my sister did some crazy moves at dance before she came to help. Please excuse her ripped tights. Lol! After they are all wrinkle free it's time for the staples! I had two parts of the chair I had to upholster. Let's start with the seat. Get your fabric on as straight as possible. Just make sure, if you have a pattern like I did, that the pattern is straight. The actual piece of fabric may be a little off center, but that won't matter! Flip it over keeping it tight and smooth. Fold over the edges and start stapling. I always started in the middle of each side, it was easier keeping it straight and smooth, than if you were working from one side. You will get the feel for it once you start. It's a lot easier that I expected! You will have to work with the corners to get them folded right. Screw the seat back on and this part is done!
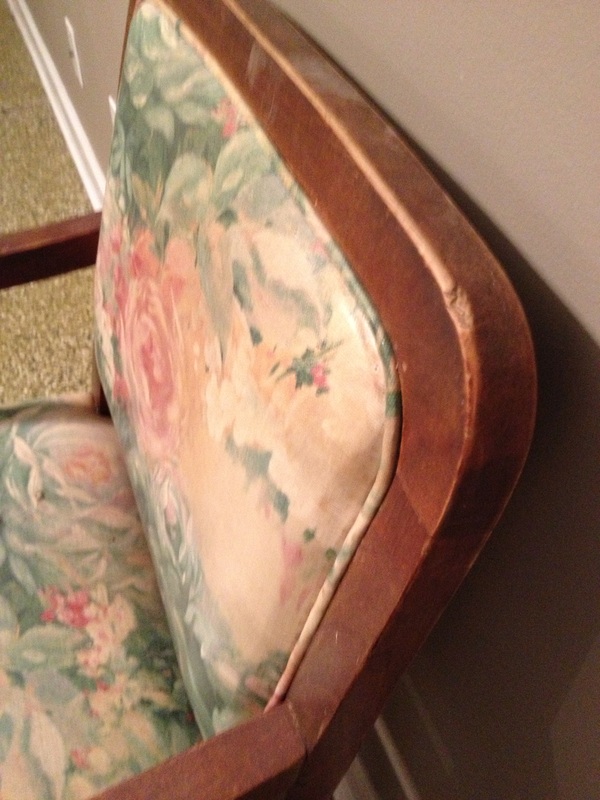
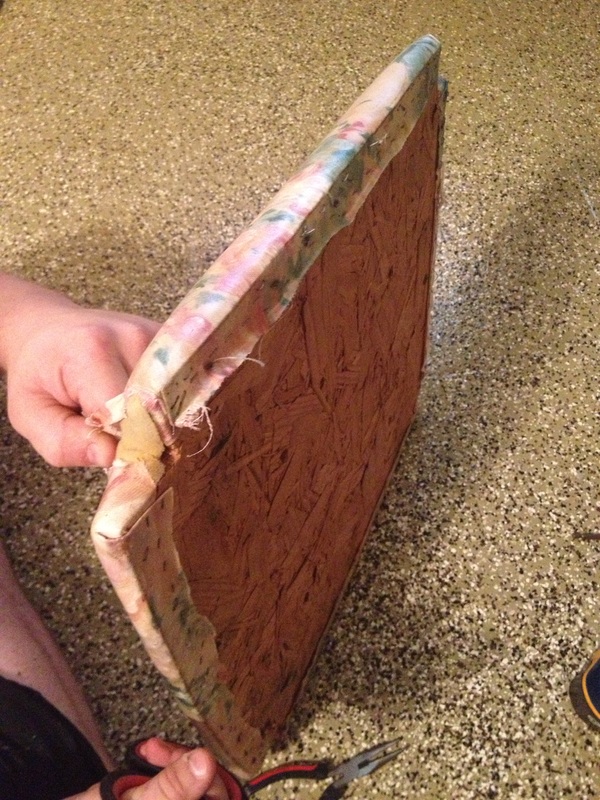
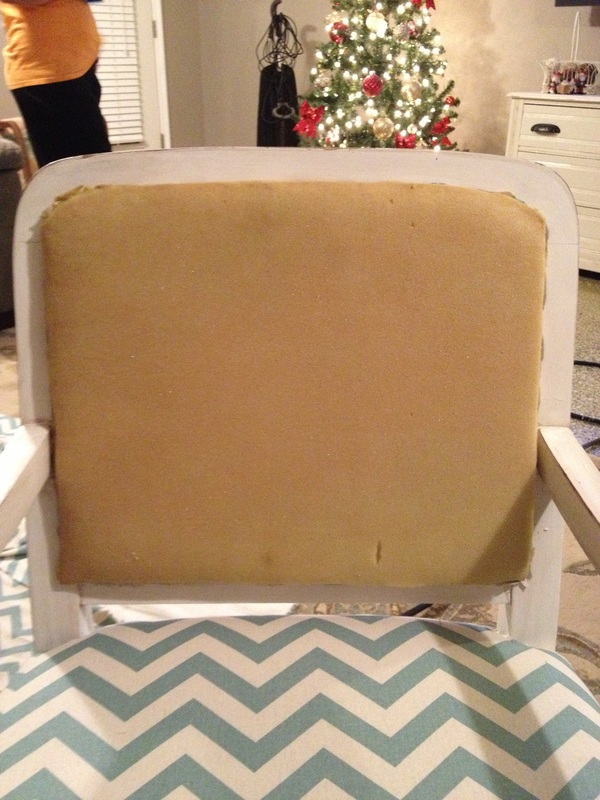
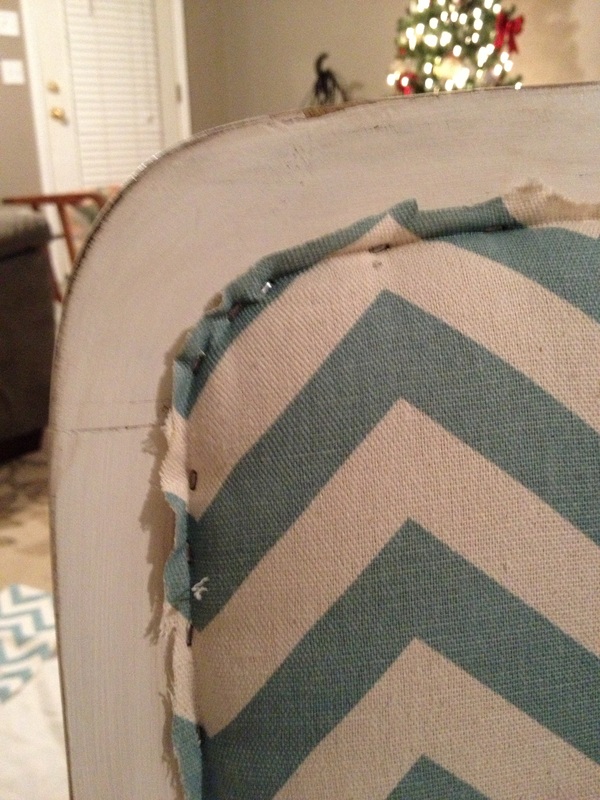
Now for the back of the seat (if you don't have fabric on the back of your chair just skip this part). This part is a little more complicated, but you can do it if I did! I'm going to split this up in a few different sections since there are extra steps. This chair had fabric showing through on the back, so I cut two identical pieces one for the back and one for the front. The pictures will explain this better if you're confused! First get your back piece, you will be working with it backwards since you will be looking at it from the back of the chair. Get your helper to help you see if the pattern is straight from the back while you hold it from the front. Once it's straight, put your first staple in at the top, in the middle. My chair had a inset in the wood where I was stapling into, so it was pretty easy once I got started. Once you get it stapled all the way around, cut off any excess fabric with your scissors. Try to get as close as possible. Hope the pictures are a little more explanatory!
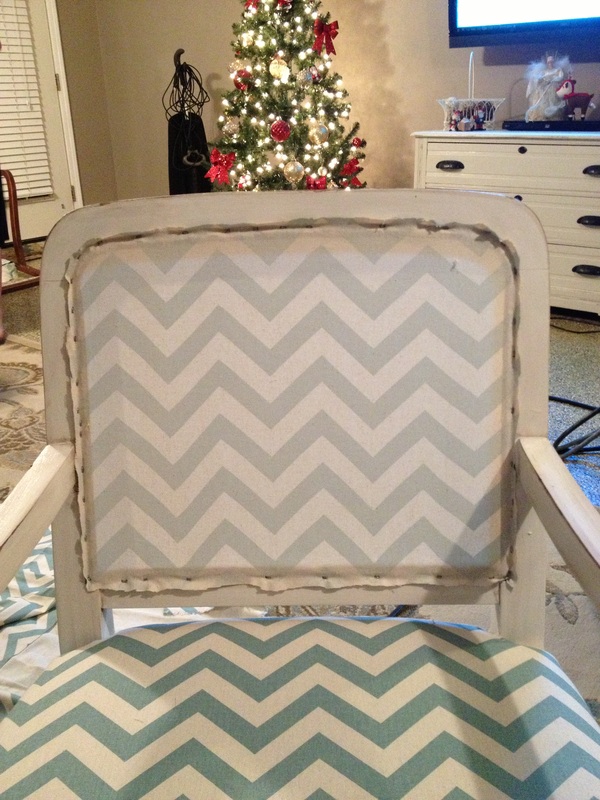
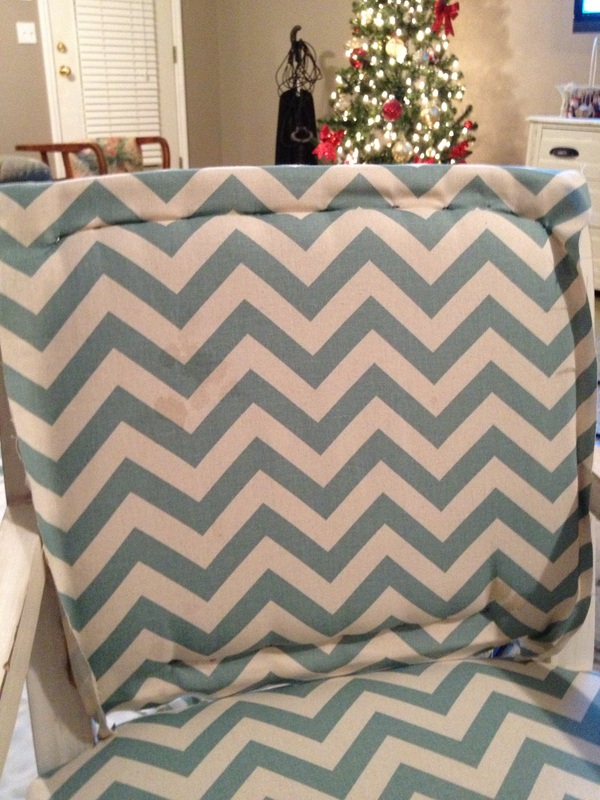
Next, put you're foam/batting on top of the back piece. I used the original foam because it was still in good shape. If you are worried about odors from the foam but don't want to buy new foam, follow these steps. 1) Spray with Shout, Lysol or whatever spray cleaner you have on hand. I used Shout, and my foam smells great now! 2) Use your steamer or iron to steam the entire piece of foam. Do this for 5 to 10 minutes. You can actually smell all the stuff coming out of the foam! 3) Let air dry. Now once you have the foam on the back piece of fabric, take your top piece of fabric and lay it over the foam. This is where your extra hands will be needed the most! Once you get the pattern straight, get your helper to hold it tight in place. Staple the top piece on. My staple gun was great, if I stapled over another staple it would bend the staple to miss the exsisting staple from the back piece of fabric. Ok, I'm going to try to not say the word staple again lol. Once you get it all... you know...stapled, WHOOPS! Cut off any excess fabric like earlier.
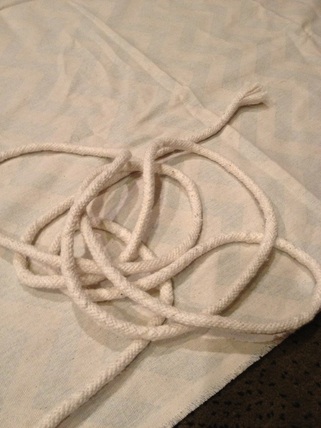
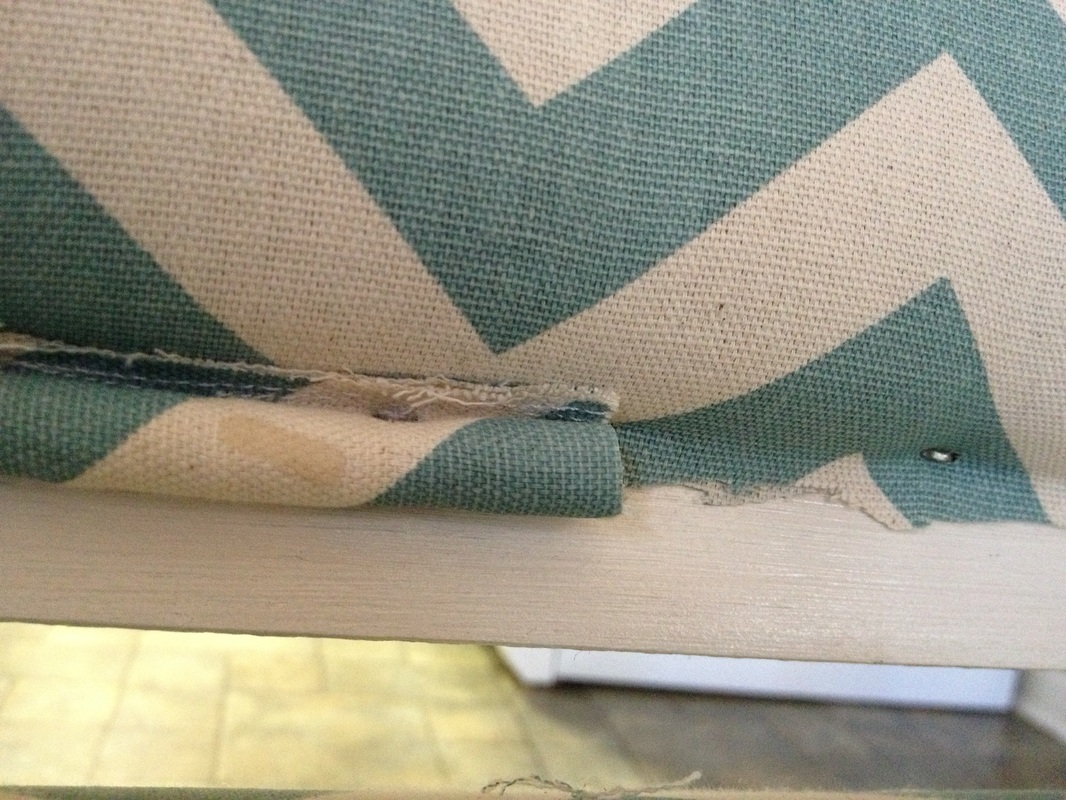
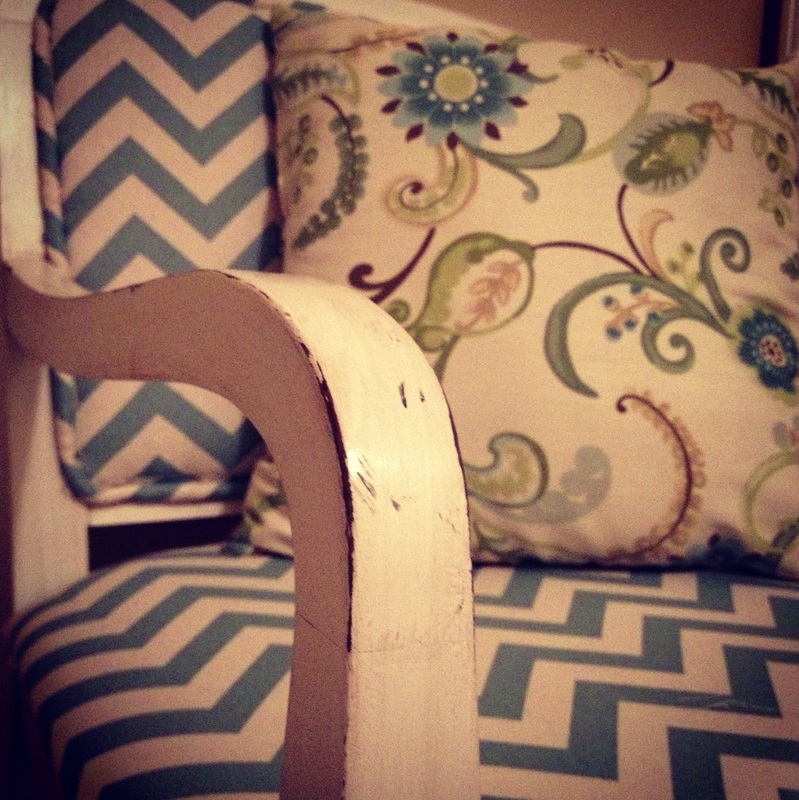
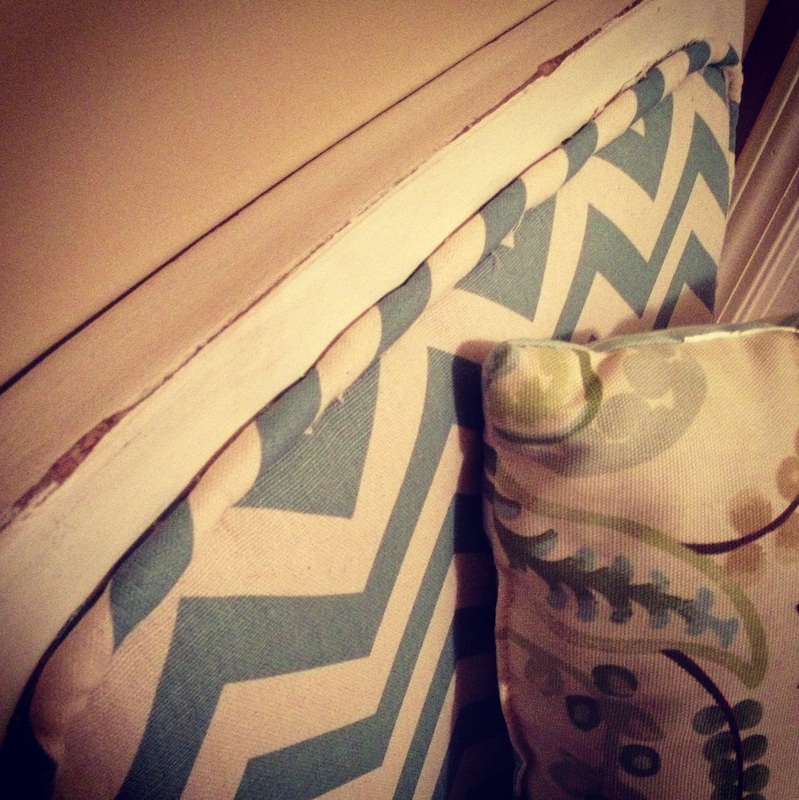
Now for the finishing touches. This was one of the easiest parts to me. I found the piping I used at Hobby Lobby. It was super cheap, and they had a few different sizes to pick from. I picked the medium size. I wanted it to be a little chunky. You will probably find it in the fabric section and they will cut it for you. I got 5 yards and it was just the right amount for one chair. Here is a picture of what it looks like.
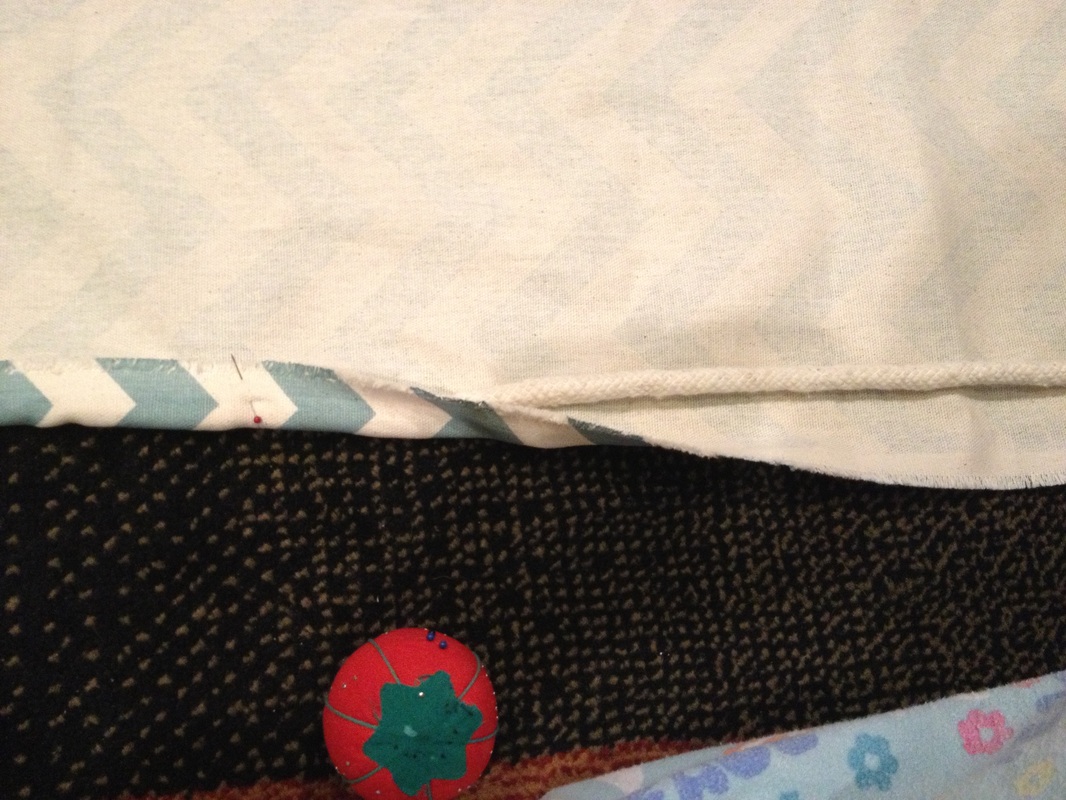
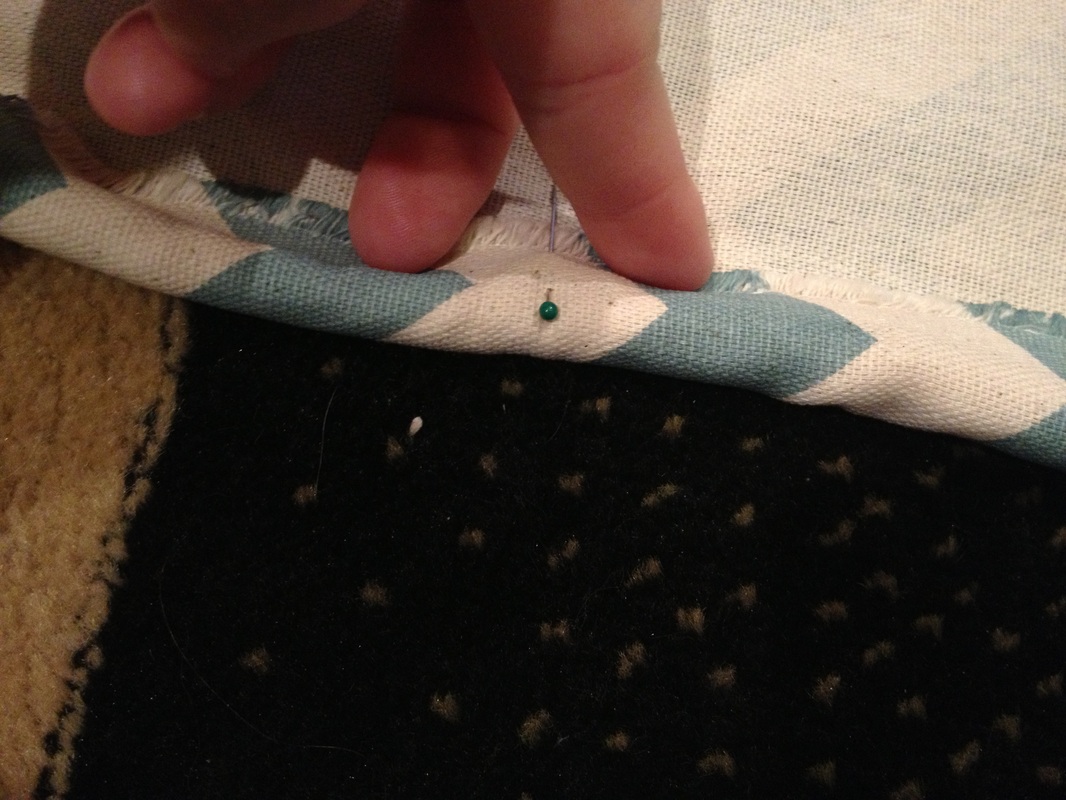
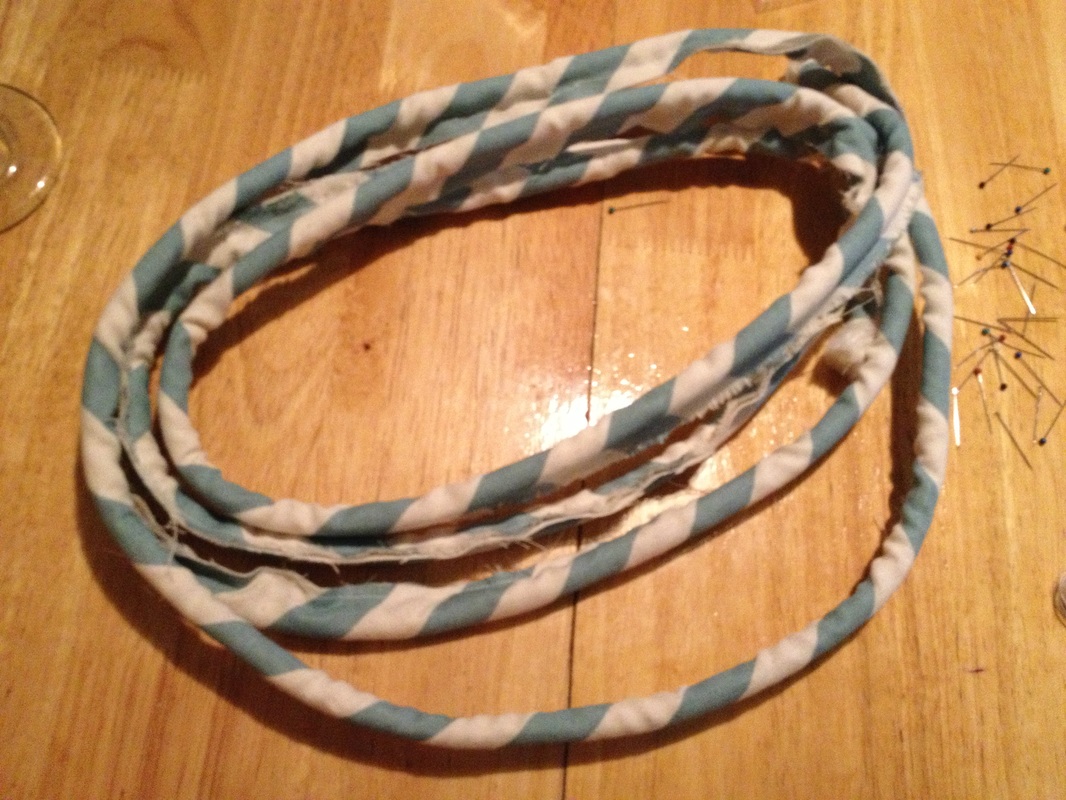
BEFORE you start cutting your fabric for the chairs and getting it all chopped up, go ahead and make your trimming. You will need the entire length of your piece of fabric. I would make a note of this somewhere so you don't forget. I learned it out the hard way. So basically, do this next step before you start any of the previous steps. Spread your piping out at the edge of your fabric. You will need a large open area to be able to spread it out. Fold the edge of the fabric over the piping about half an inch. You will need to leave enough fabric to have a small strip to staple to the chair. Start pinning the fabric around the piping to keep it in place while you're sewing it. The pictures below will explain that better. Lastly, cut off the excess fabric. The pins will keep it all together.
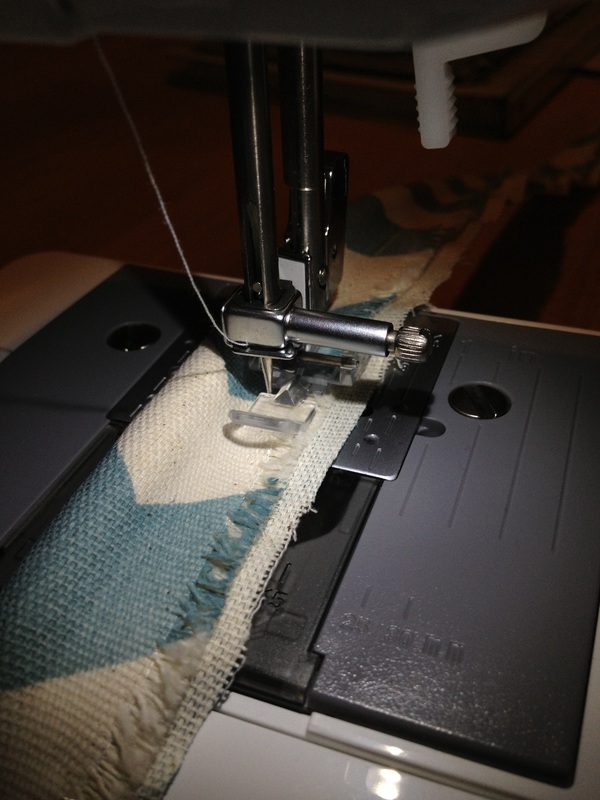
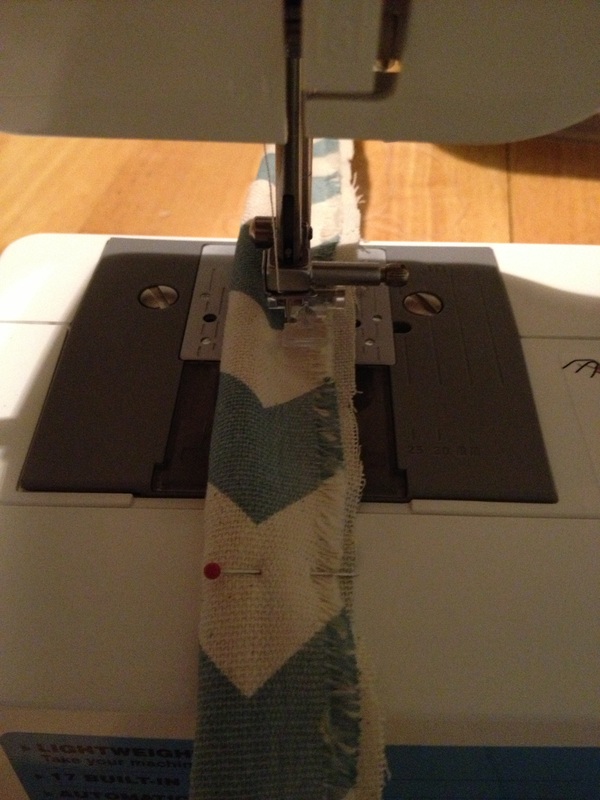
Now it's time to break out the sewing machine. If you don't have a sewing machine you can sew it by hand. It will take a lot longer, but it can be done. I used the zipper foot on my sewing machine, it helped to get the needle really close to the piping, so it would be really tight. Remove your pins as you sew.
Now that we have the piping sewn up, it's time to staple it on to your chair. Start in the least noticeable place. I started on the bottom of the back of the chair. Start stapling the piping to the chair, keep it as straight as possible. Just go all the way around and then cut it off when you get to your stopping point.
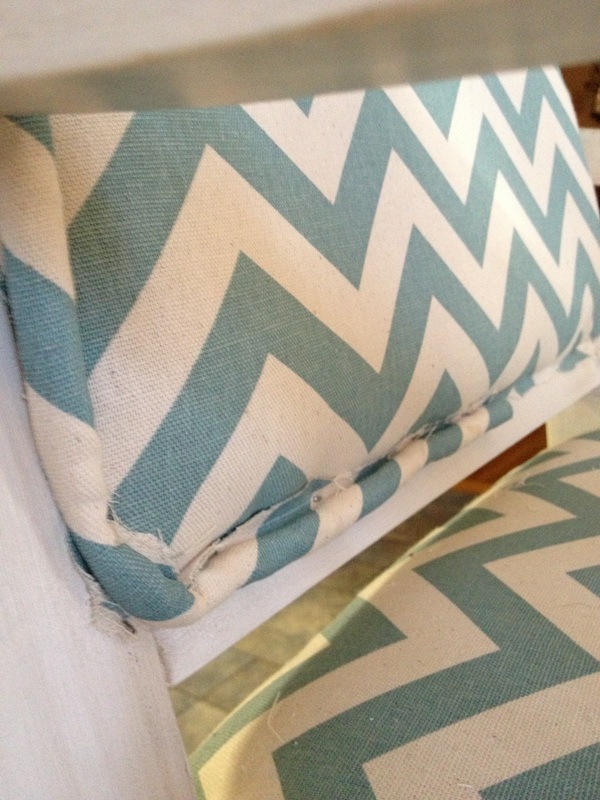
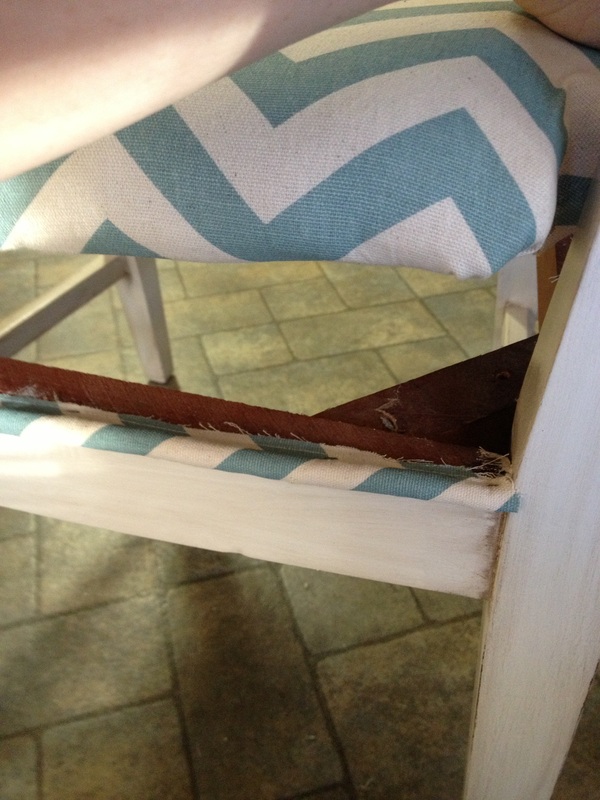
I wanted to put some trim around the bottom of the seat cushion as well, just so it would have a finished look. I took the seat off and just stapled my strip of fabric all the way around the top of the frame that the cushion sits on. Then when I put the seat back on it looked ten times better.
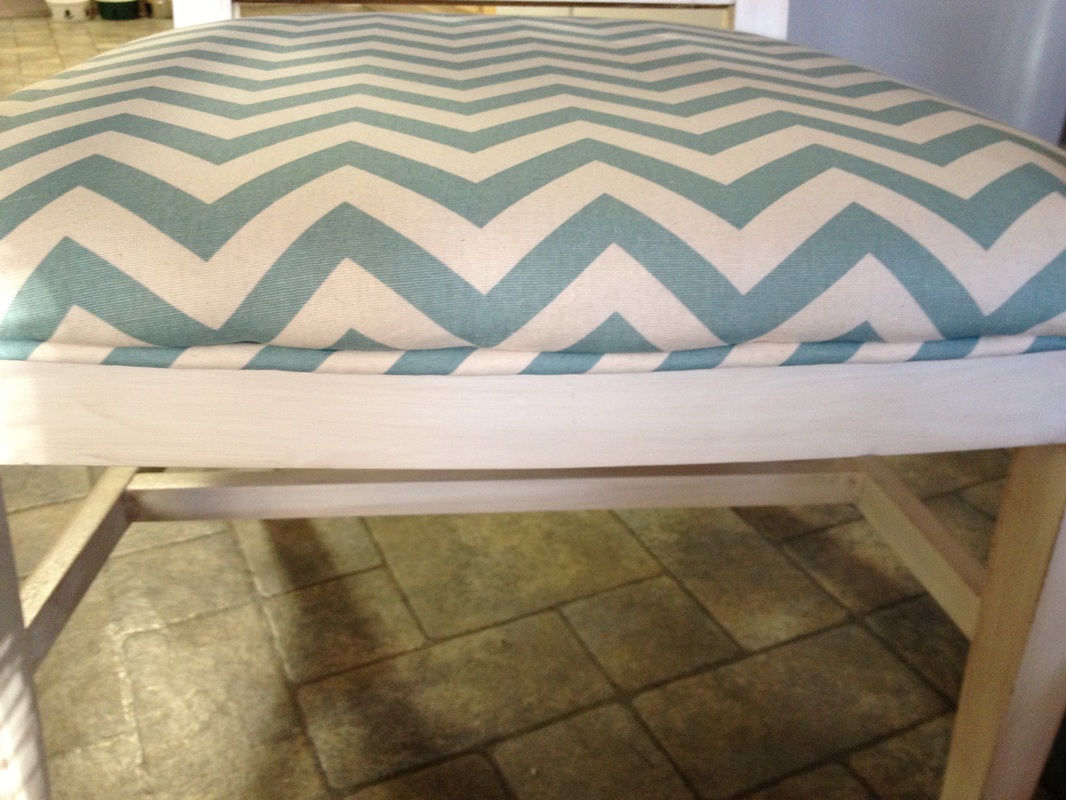
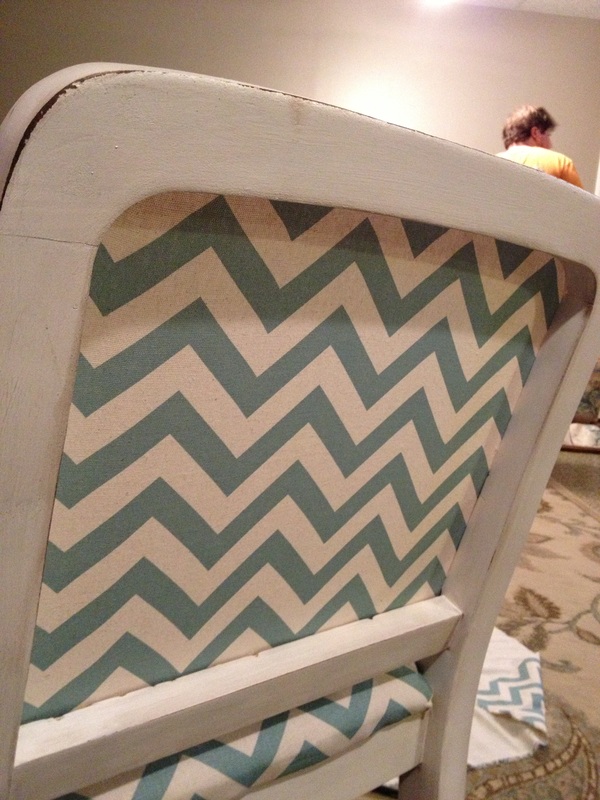
Next, trim off any strings or fabric that may be showing. You can also go back around and hot glue your piping onto the the cushions just for added security and so your staples won't show. I didn't need to do this step because my piping was really chunky, so it covered everything up for the most part. I hope this wasn't too complicated. If you have any questions feel free to ask. I'm no expert but I would love to help you. If I can do this, I KNOW you can too. I just dove in, and it turned out great. It really was easier than I thought it would be! Also, don't freak out if it's not perfect. Mine certainly wasn't! Nobody's going to come in with a magnifying glass and start critiquing it. Throw a pillow on it, or a small blanket to cover imperfections up, or just embrace 'em. I'd rather have something less than perfect and be able to say I did it myself. :)


 RSS Feed