So this is my first time to ever write about the process in which I go about painting and distressing furniture. I took a few pictures and I'm going to go through every step. I think if someone wants to try this their selves why should I keep how I do it a secrete. I've actually met someone like that, very weird. But, any who, I'm not going to make a post about every single piece I do, that would get boring and very repetitive, fast. I'll do posts on different techniques, hard to work with pieces, or about sanding. You never know what you'll see! That's the fun part. (Don't be surprised if I throw in my pantry makeover!) Ok, on to the project!
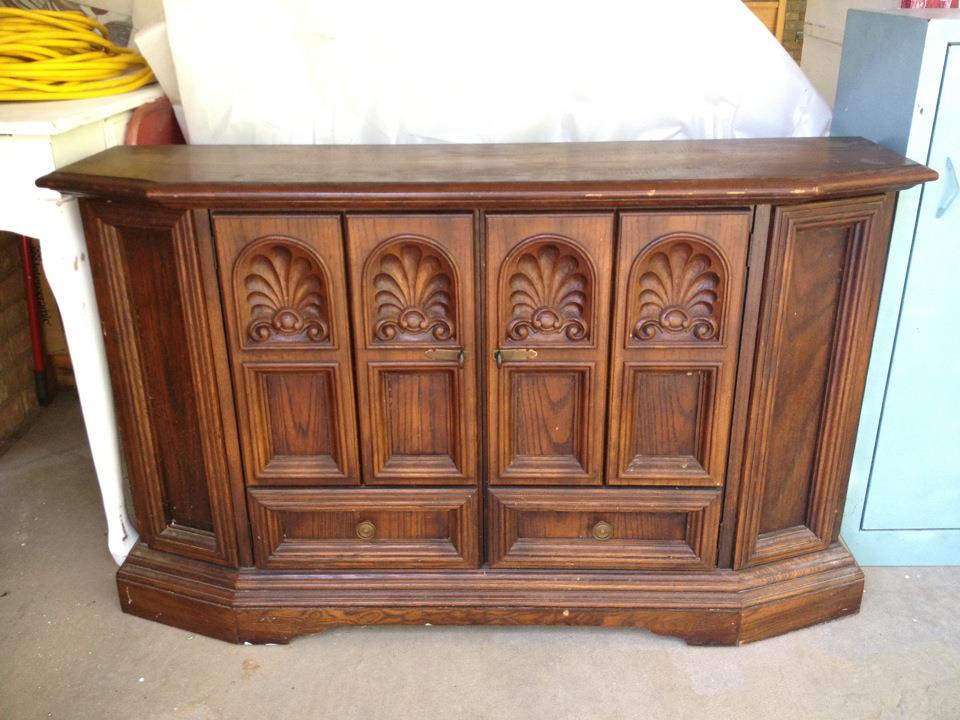
This is a before picture of the cabinet/accent table I found for a pretty good price at a yard sale. I had to haggle the lady down into my comfort zone, but I knew this thing had great potential!
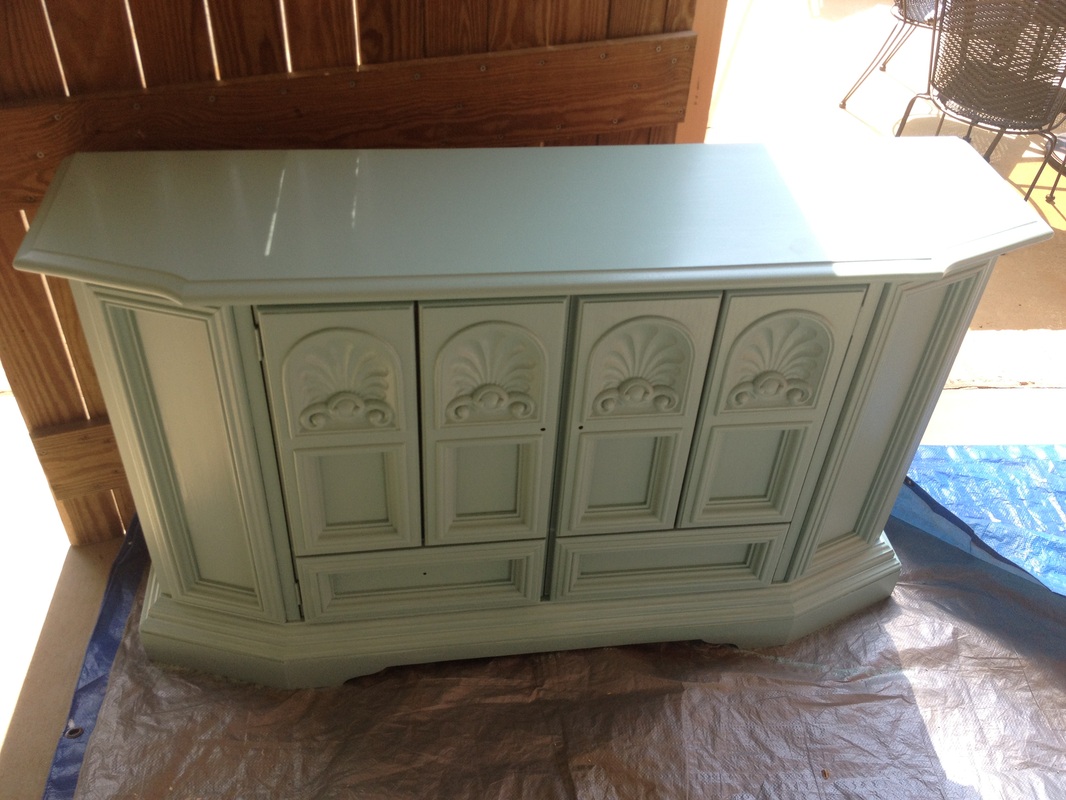
Well, I got started right away because I was super excited about how she was going to turn out. I made a late night run to Lowes, picked out some paint (which I was in love with), bought a couple of new sanding blocks (which I'll talk about later) and I was on my way home. When I got home, I sprayed a few coats of primer after roughing up the top with some medium grit sand paper. After I was through priming I started painting , and painting, and painting. I got about half way through before I literally laid down in the drive way and fell asleep. Seriously! My husband finally woke me up, after 20 minutes and I called it a night. Seriously, he let me sleep in the driveway for 20 minutes without saying anything. Anyway, I woke up early the next morning and got back started, because painting in 107 degree weather is not that fun. Took me a few hours to get her completely through painted. Here she is, perfect, flawless, smooth as a baby's butt. Not for long... :D
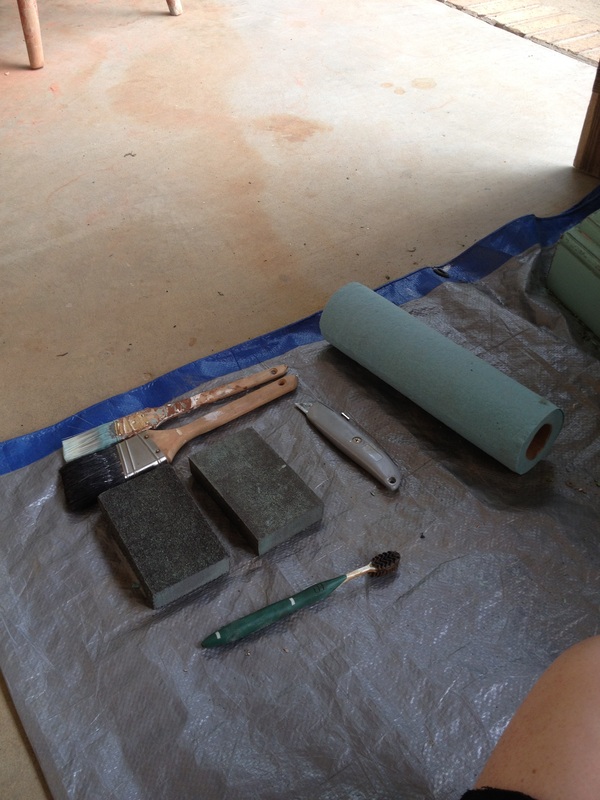
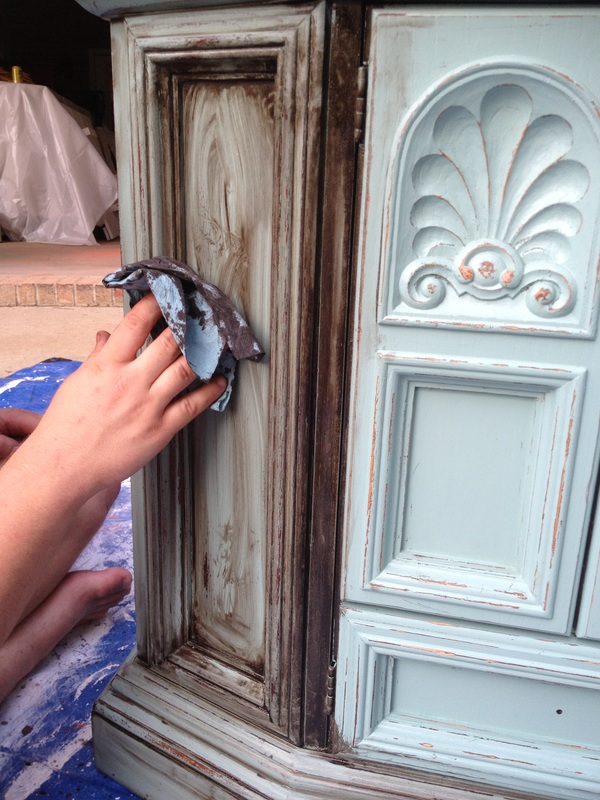
The next step is the distressing, which is my favorite part. It's like a stress reliever. I can't explain it! The only things I used on this were a medium sanding block, a fine sanding block, and a utility knife. Basically all you do is rub the medium sanding block on the places you want distressed. Don't do continuous lines all the way around. Do some here and there and just randomly all over. You don't want it to look like you took some sand paper to it, you want it to look like 40 years ago someone ran into it with the vacuum cleaner a lot, or it had been moved around and bumped into things. Make it look like it has naturally been worn. Next, take your fine sanding block and rub along all your distressed places. This smooths them down, so that they don't keep chipping off, and so they won't be jagged. I sometimes use a utility knife and run along the fine edges just so you can see all the beautiful lines and details in the piece of furniture. It really brings out the shapes and curves. Below is a picture of the sanding blocks and the utility knife!
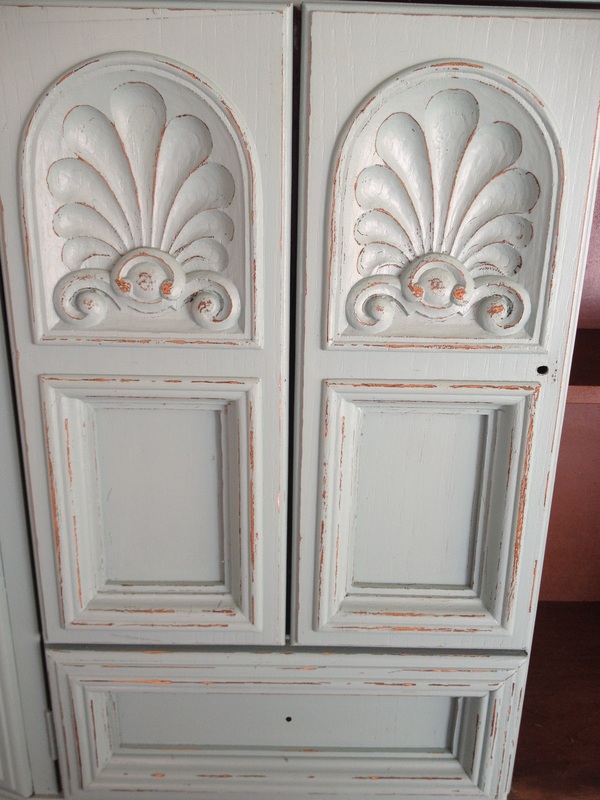
This is the part that I did with the utility knife. It let me get into all that intricate detail that the sanding blocks would have missed.
After you're completely through distressing the piece, clean it really good. Get all that dust off and out of the nicks and crannies. I use a an old tooth brush most the time to clean the corners and places a rag won't get to. After it's clean you're going to start the glazing/staining process. You'll need mixing glaze, whatever color stain you want to use (I used Dark Walnut made by Rust-Oleum for this project), old rags, an old tooth brush, and mineral spirits to clean up with. If you buy the mixing glaze it will have directions on how much stain to glaze you mix. It's a clear type of stuff, and it doesn't take much stain for it to work. You mix the stain and glaze up, paint it on, wipe it off. I didn't have mixing glaze on hand when I did this project, so I just used stain. I know how to work with it and know how much time I have before it starts to dry. The mixing glaze gives you a lot more time to work with. I don't recommend using just plain old stain to first time distressers, you'll be the only thing distressed after it's over with. But, if you do decide to just use the stain and no glaze, then only work with small sections at a time. Here's a picture of how much I would put on at a time. I actually had to call my husband over to start wiping it off as I took the picture. That's how fast you have to work with stain!
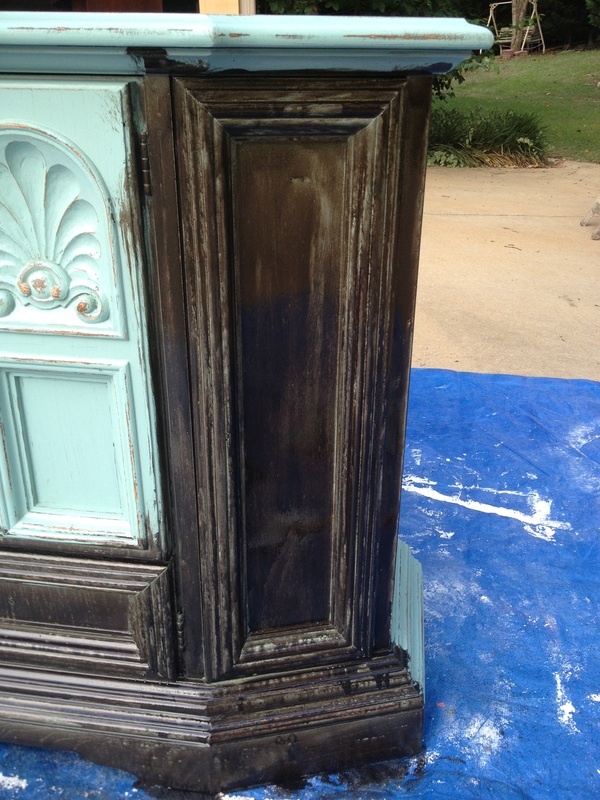
Now, when you start wiping it off, just worry about the excess. Don't freak out about the nicks and crannies. You want the stain to stay in there. It adds more character and brings out all the detail of the furniture. Here's a picture of the hubby wiping it off, don't stress over it to much, just play with it, if you wipe too much off, put some more on, just have fun and make it yours. I guess you're probably going to notice my hubby's cute toes, we live in Alabama, shoes are rarely on our feet.
When you get everything wiped down and you like the amount of stain you have on it, let it sit over night, for at least 24 hours. Try not to touch it, it will leave finger prints in the stain (no worries, just rub them back in). Just make sure everything is rubbed in good and there's not big globs of stain hidden some where. After you let it cure for at least 24 hours then you want to apply a clear coat. My favorite is a water base polyurethane made by Rust-Oleum, I usually get the satin sheen. I put at least two coats if not three. After you let the clear coat dry for a few days you're ready to bring it inside (you can bring it inside after its dry, just don't sit anything on it for at least 3 days).

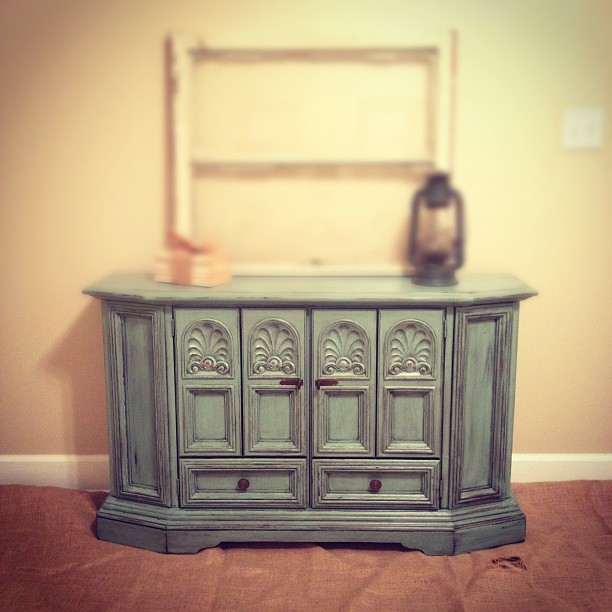
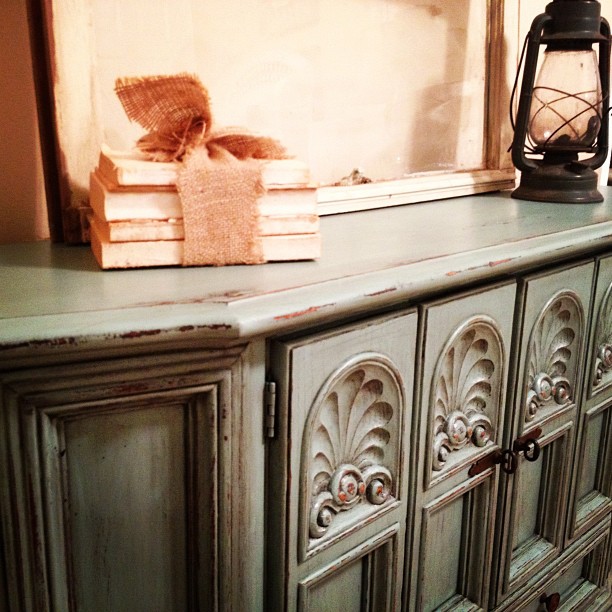
Before and afters (click to enlarge).
Well there you have it. Hope I explained everything OK. If you have any questions please feel free to contact me. Have a great day, and hope YOU'RE not too distressed after reading that! :)
Well there you have it. Hope I explained everything OK. If you have any questions please feel free to contact me. Have a great day, and hope YOU'RE not too distressed after reading that! :)

 RSS Feed